Important: There is a better way to do this now with Cloudflare workers
Read an updated guide here, at Google Ads Open Research
How To Run Server Side A/B Tests With Google Optimize
Measure changes on your site with minimal effort and zero speed impact.
To learn about how tests are run, read our testing behavior section.
Step One: Setting Up Your Google Analytics
Each implementation of your Google Analytics requires separate work to get it working. Currently, Google Optimize does not support GA V4.
Find out your analytics type with this help article
Step Two: Setting Up Your Google Optimize Experiment
You will, of course, need a Google Optimize account for this step
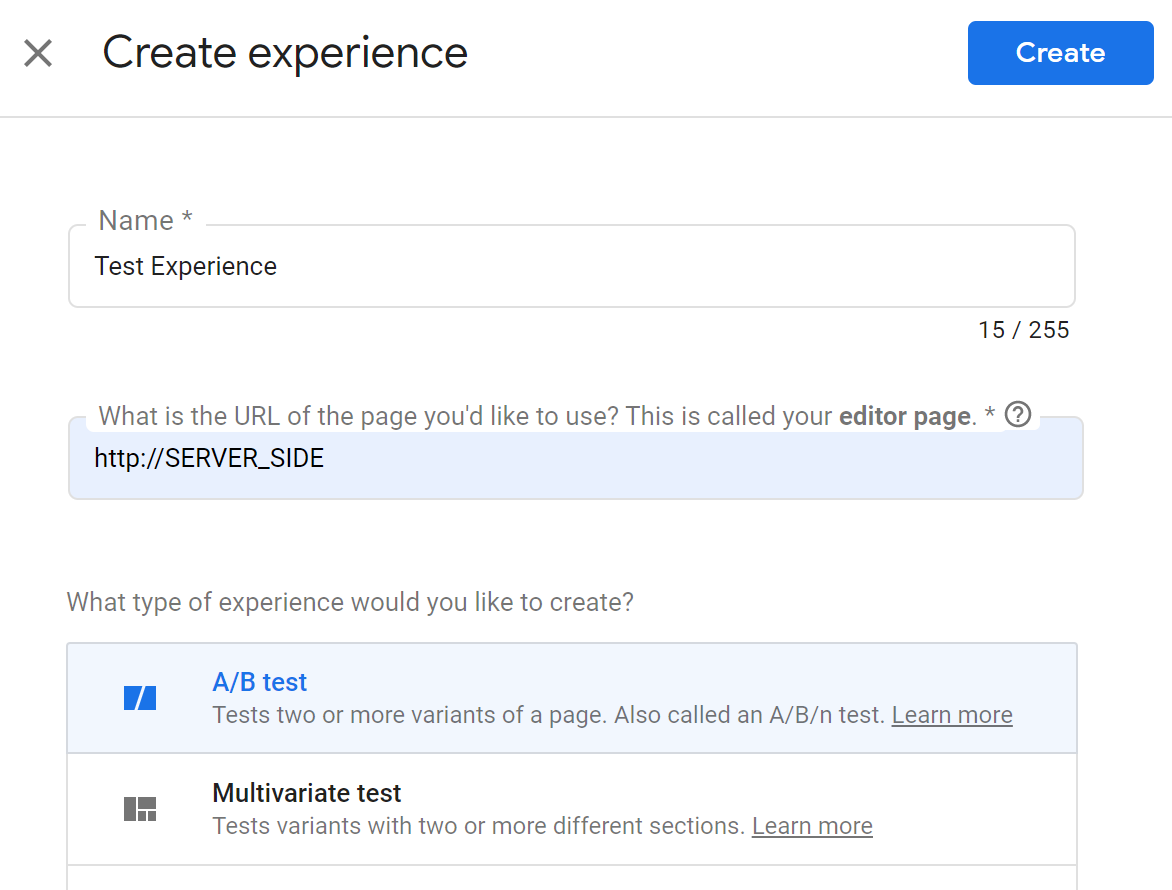
- Create an experience

2. Set your experience name
The name and URL do not matter, but be sure to set the experience type as “A/B” test.
3. Add a Variant and give it a good name
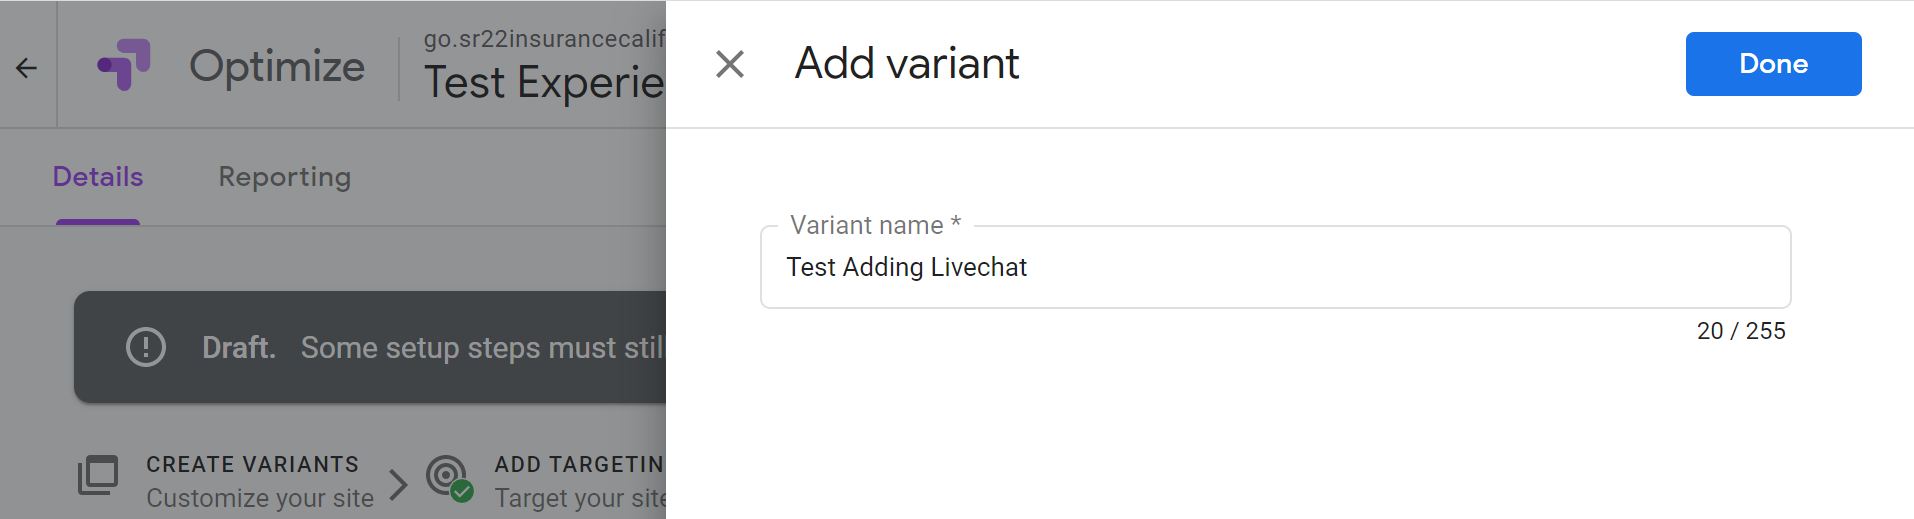
Your page will now look like this:
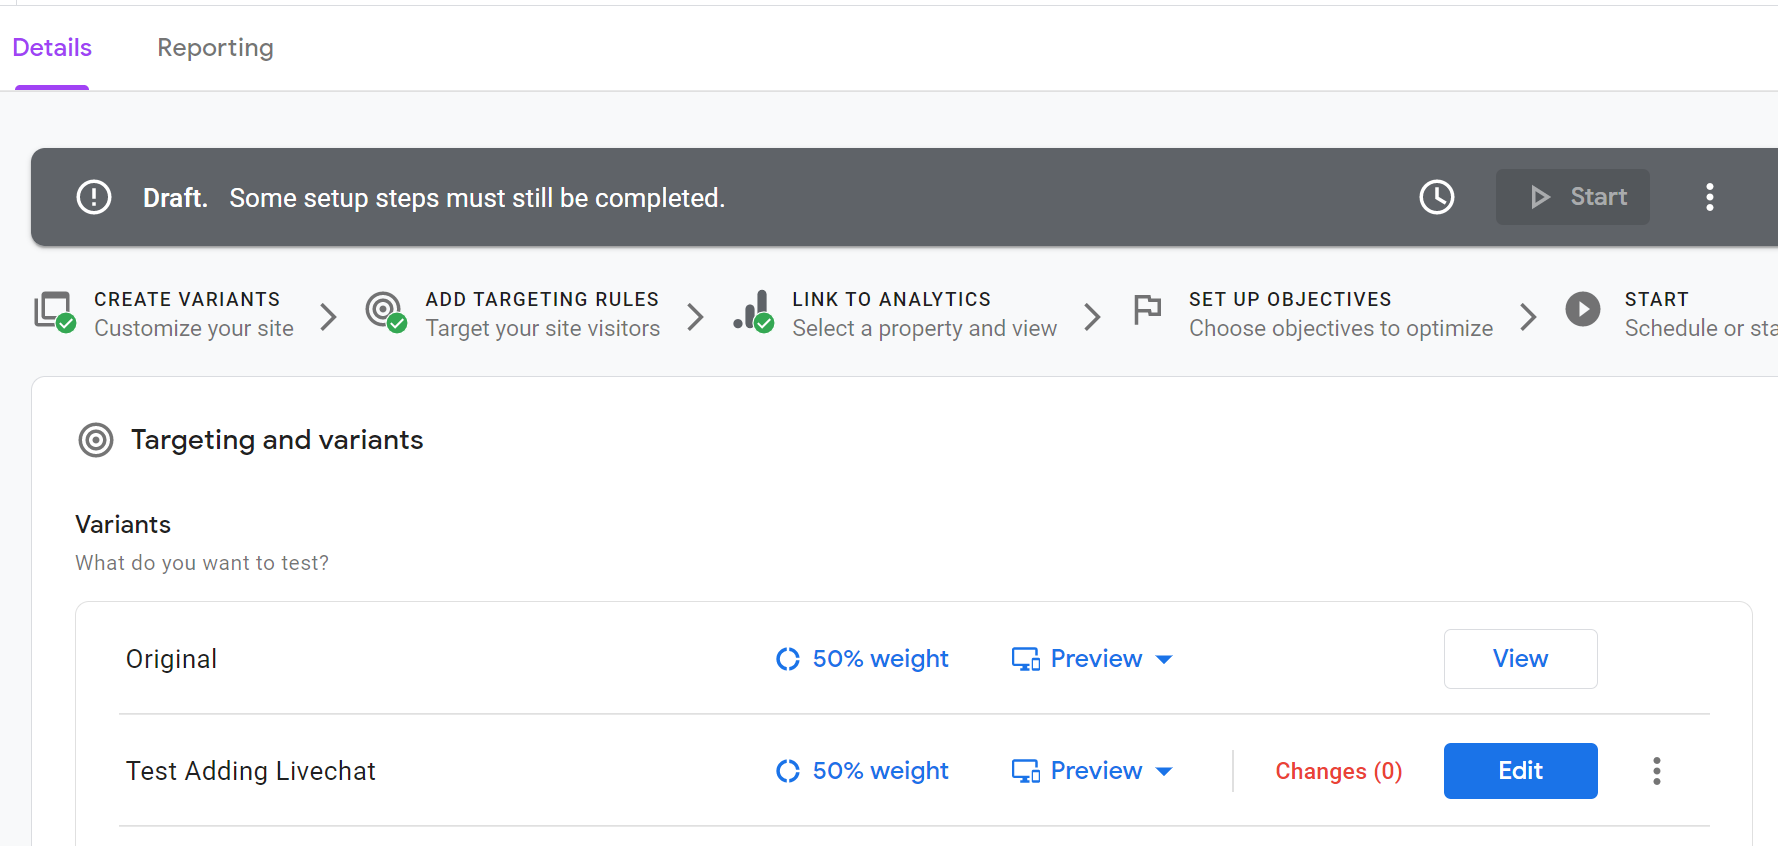
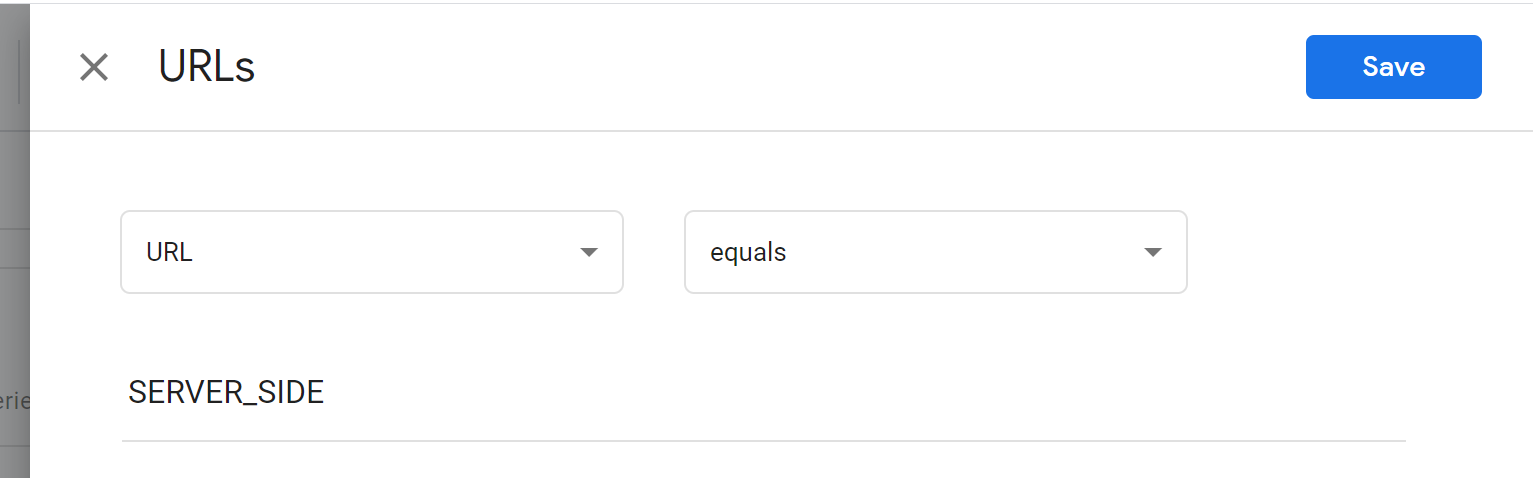
4. Change your page targeting to “URL equals SERVER_SIDE”
Click the pencil:
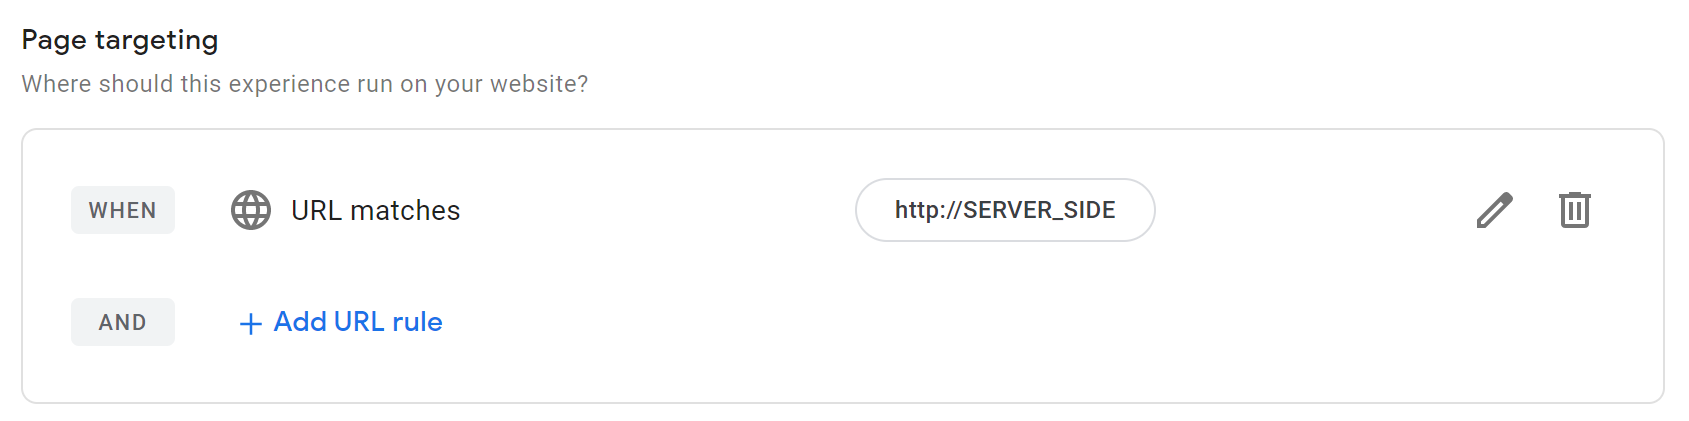
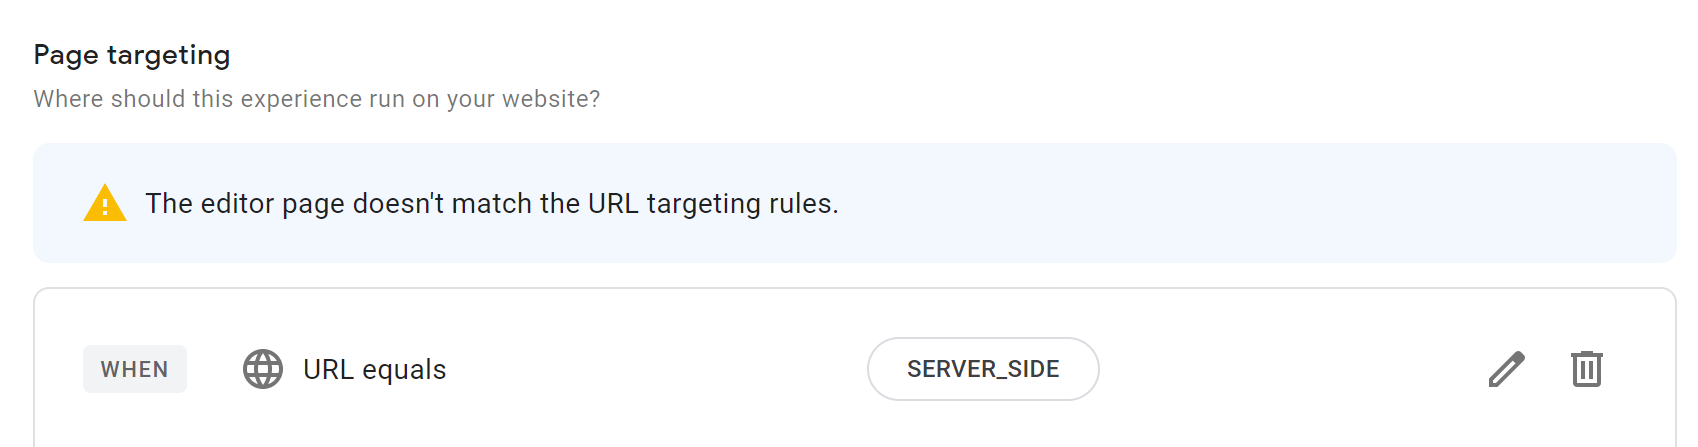
Set the rule to match “URL Equals SERVER_SIDE”
You’ll get a warning you can safely ignore:
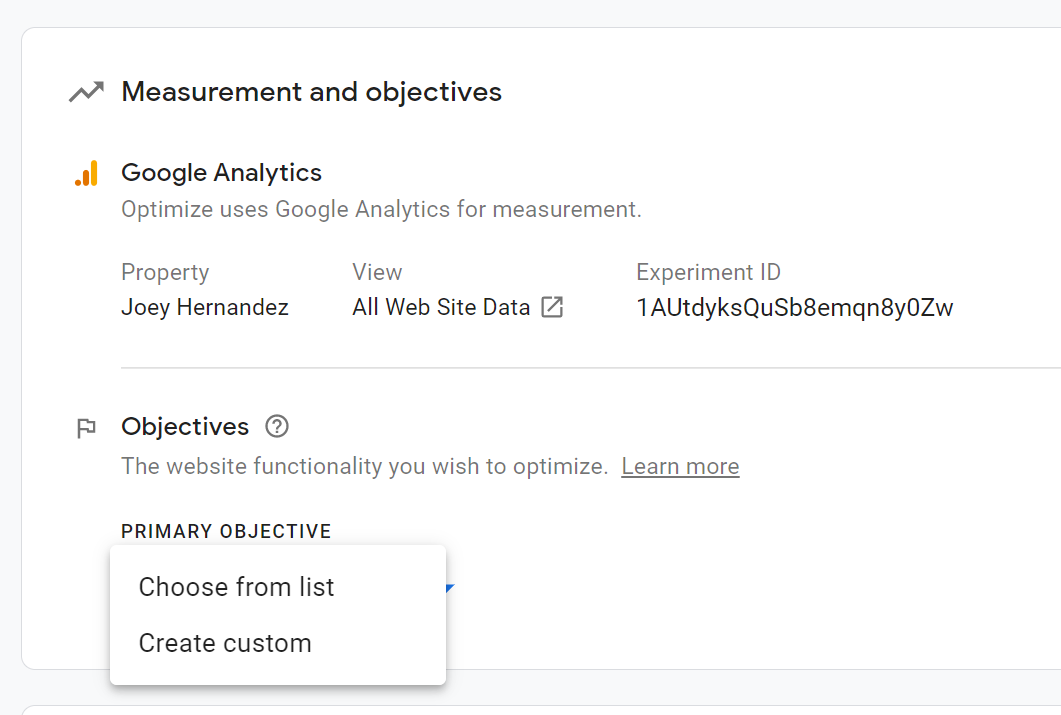
5. Set Your Google Analytics Goal and copy your Experiment ID for Easy Landing To Use
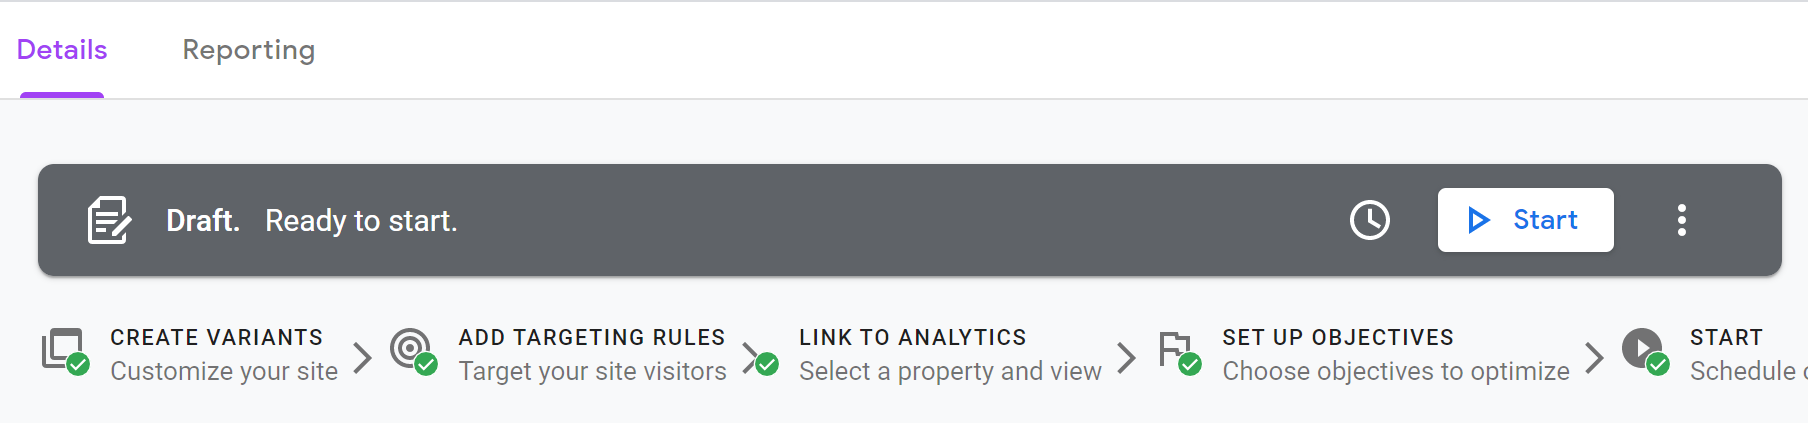
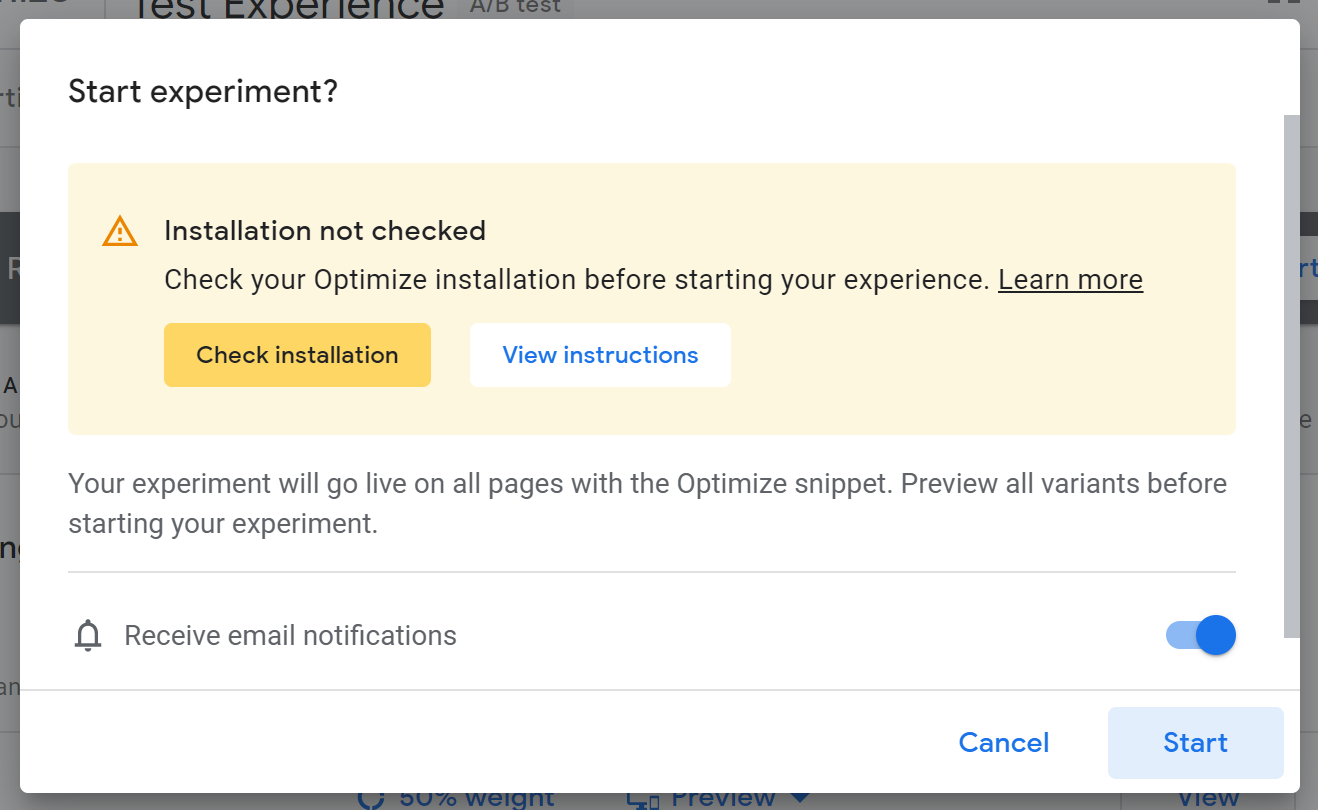
6. Start The Experiment
7. Ignore another warning
You do not need to install any Google Optimize code. It will slow down your site.
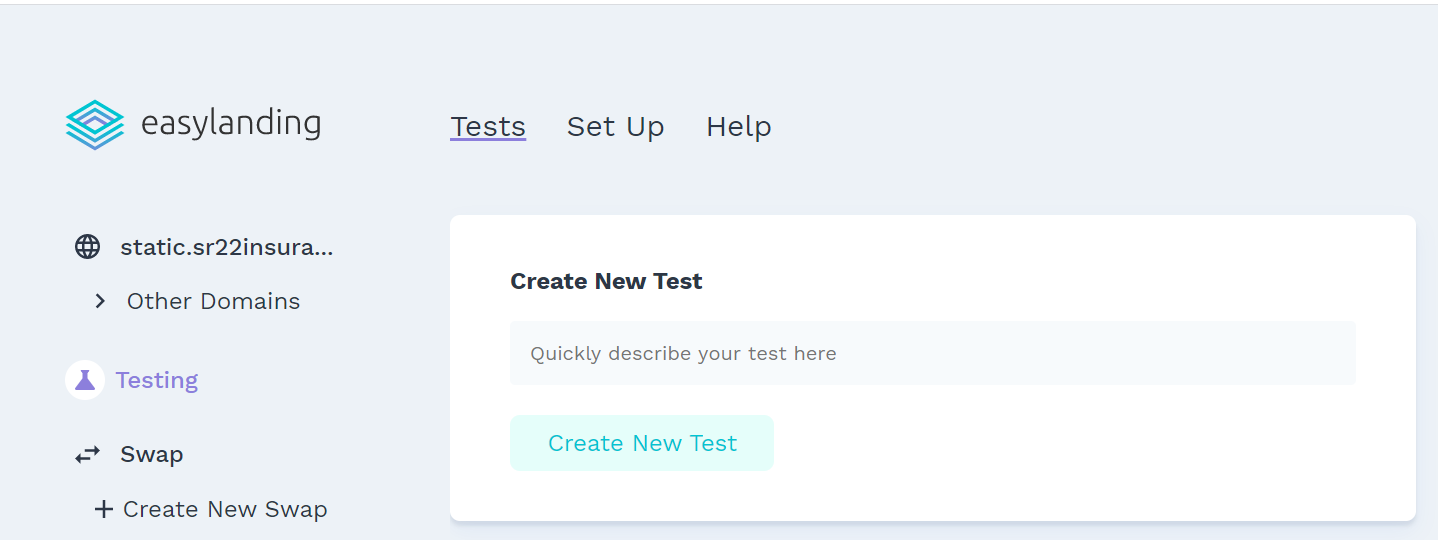
Set Up The Experiment In Easy Landing
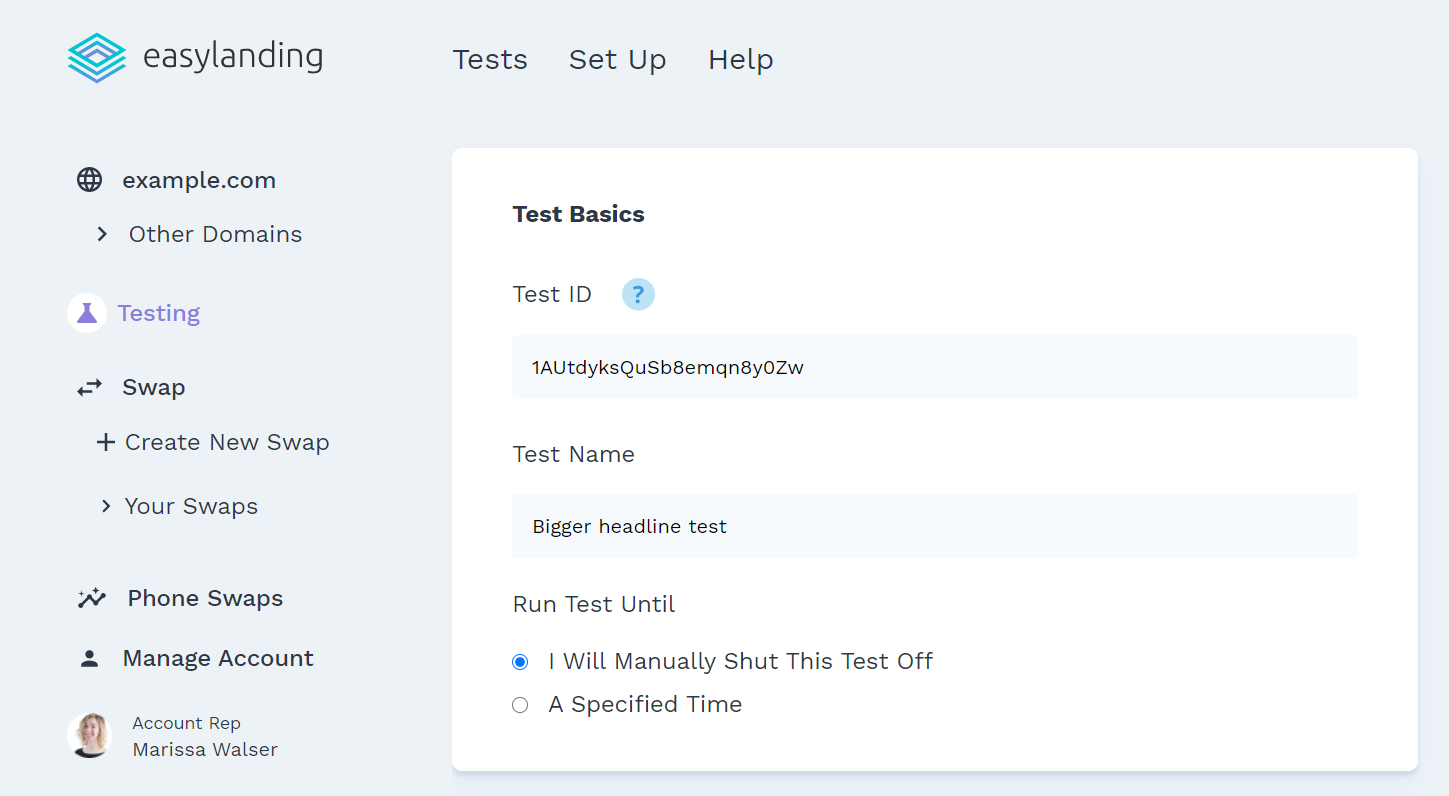
1. In the testing dashboard, name your experience something descriptive.
2. Add your Test ID from Google Optimize
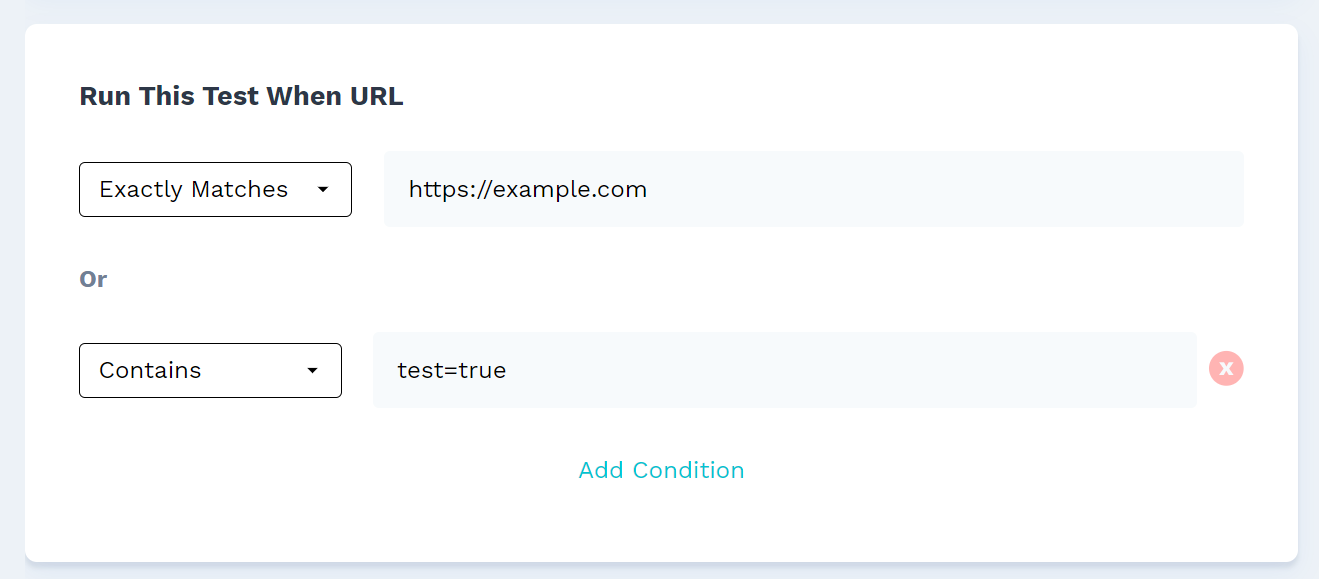
3. Set up the triggers for your test
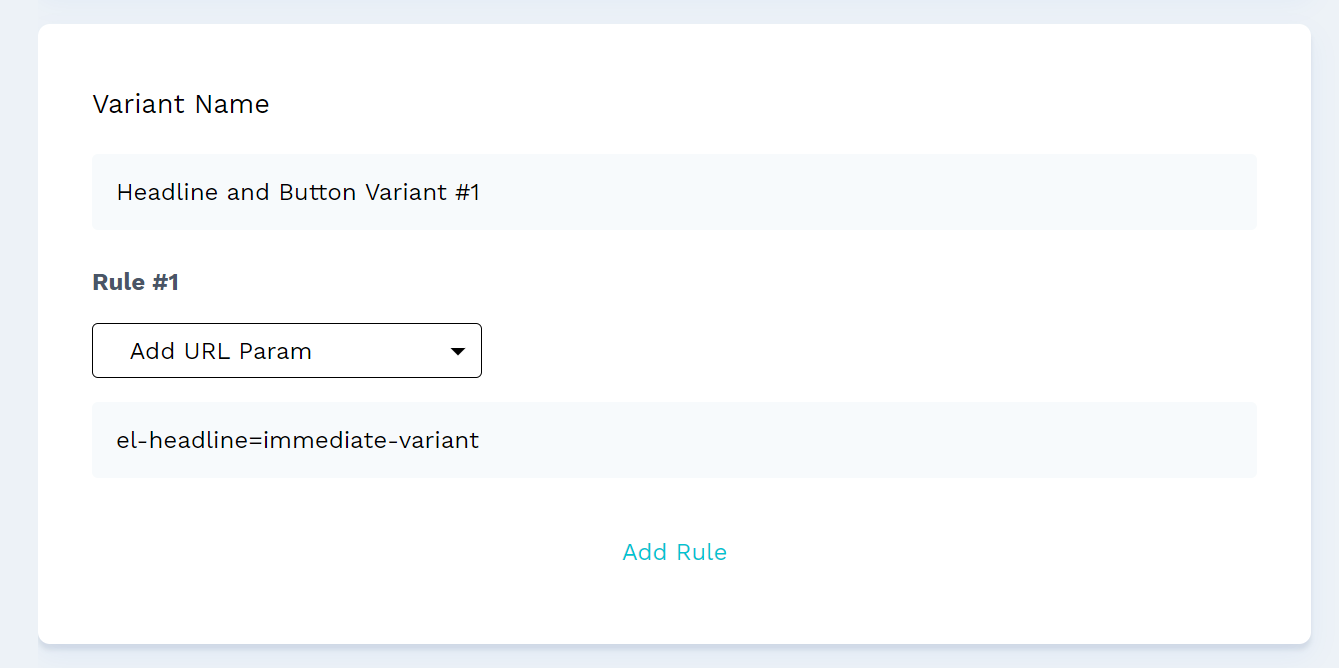
4. Customize your pages:
Run as many variations as you want while changing small (or big!) parts of the page.
You have three customization options here:
-
Add URL Param
If you made a url parameter swap within Easy Landing already, this option allows you to easily add it or remove it.
-
Redirect To Page
Want to test two separate pages? This makes it easy.
-
Add Code To Header/Footer
Put any code you want into your page with this. Want to test if live chat actually increases conversions? This is where you’d do it.
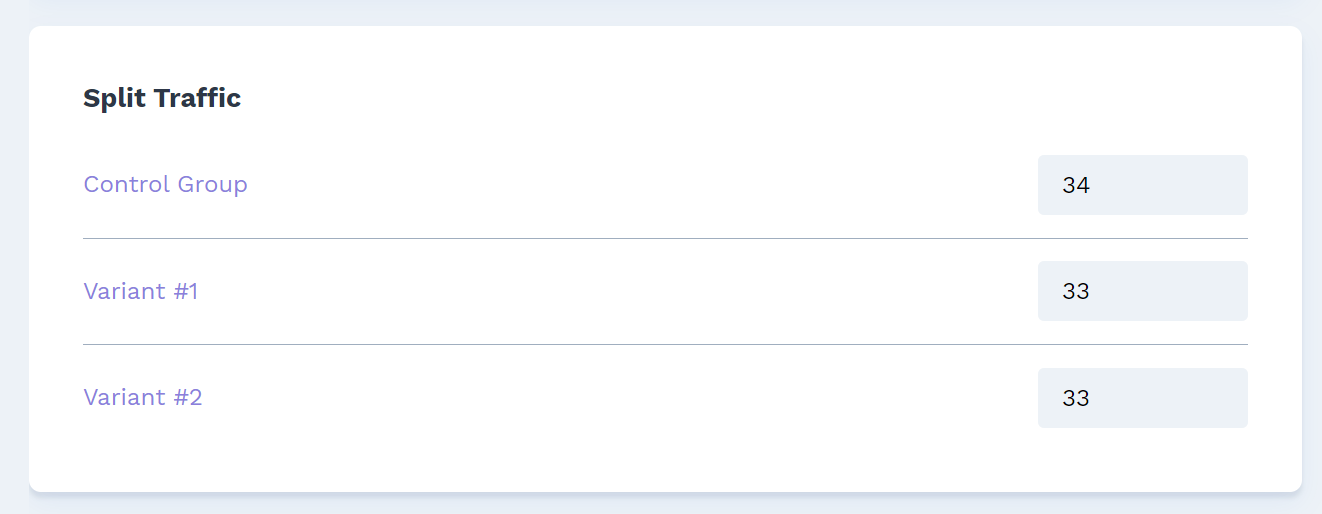
5. Choose your traffic split
6. Set your test as active
Where To View Your Test Results
Easy Landing integrates directly with Google Optimize so you will be able to see your results in Google Optimize and Google Analytics.